There’s something truly magical about the burst of sun-kissed strawberries turned into luscious, ruby-red jam-each spoonful a little jar of summer’s sweetest secrets. Making homemade strawberry jam isn’t just about preserving fruit; it’s an artful ritual that transforms simple ingredients into a comforting delight that spreads joy on toast, swirls into yogurt, or brightens a dollop of cream. In this article, we’ll guide you through the easy, rewarding process of crafting your own sweet bliss, unlocking tips and tricks to achieve that perfect balance of sweetness and tang. Whether you’re a kitchen novice or a seasoned cook,get ready to stir up a batch of homemade happiness that captures the essence of fresh strawberries all year round.
Sweet Bliss starts with the perfect choice of ripe strawberries, bursting with natural sweetness and vibrant color. Selecting the right fruit ensures your homemade jam will be a fragrant, flavorful treasure reminiscent of sun-kissed summer mornings. Whether you’re a beginner or a seasoned jam maker, this guide will help you craft luscious strawberry jam that speaks of warmth, tradition, and homemade love.
Prep and Cook Time
- Planning: 15 minutes
- cooking: 25-30 minutes
- Total Time: 40-45 minutes
Yield
About 4 half-pint jars (8 oz each)
Difficulty Level
Easy – perfect for first-time jam makers and busy home cooks alike.
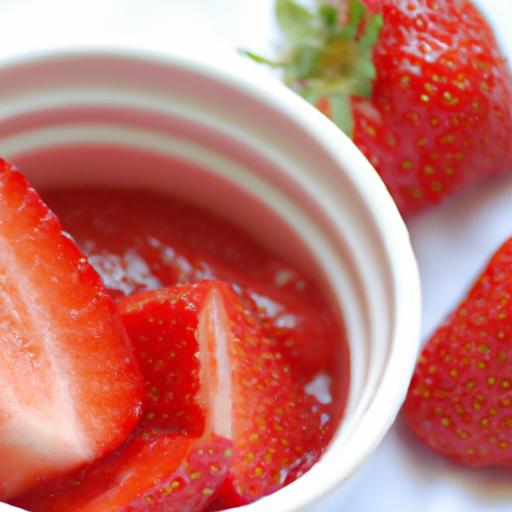
Choosing the Ripest strawberries for Maximum Flavor
Begin by seeking strawberries that are fully red, plump, and free from bruises or green tips. The aroma should be sweet and inviting,a telltale sign of deep flavor. Local farmers’ markets or organic sections are ideal, as freshly picked berries contain the highest sugar content that intensifies during jam cooking. Avoid washed berries at the store to minimize excess moisture, which can dilute the jam’s consistency. Gently rinse just before use and pat dry.
Essential Ingredients and Tools for Perfect Jam Texture
- 2 pounds fresh ripe strawberries, hulled and halved
- 2 cups granulated sugar
- 2 tablespoons fresh lemon juice (balances sweetness and aids setting)
- 1 packet (1.75 oz) fruit pectin or homemade pectin
- Large heavy-bottomed saucepan
- Wooden spoon or heat-safe silicone spatula
- Jam jars with lids, sterilized
- Digital candy/food thermometer (optional but helpful)
- Funnel for jar filling
- Jar lifter or tongs
Step by Step Guide to Cooking and Preserving Your Strawberry Jam
- prep your strawberries: After washing and hulling, gently crush the berries using a potato masher or fork, leaving chunks for texture.This creates a balance of smoothness and bursts of fresh strawberry in every spoonful.
- Combine berries and sugar: In the saucepan, mix crushed strawberries with sugar and lemon juice. let this rest for 10 minutes. This maceration draws out the juice, ensuring a rich, thick jam.
- Add the pectin: Stir in the fruit pectin thoroughly. This natural thickener is key for that perfect gel without being overly stiff.
- Cook the jam: Place over medium-high heat and bring to a full rolling boil (one that can’t be stirred down).Stir constantly to prevent sticking and scorching. Boil for 1 minute.
- Test for set: For accuracy, use the cold plate test: place a small spoonful on a chilled plate, cool briefly, then push with your finger. If it wrinkles,the jam is ready; if not,cook an additional minute and repeat.
- fill your jars: Using a funnel, ladle the hot jam into sterilized jars, leaving about ¼ inch headspace. Wipe rims clean, seal tightly with lids, and return jars to boiling water bath for 10 minutes to preserve.
- Cool and store: Remove jars with tongs and let cool undisturbed for 12-24 hours. Store in a cool, dark place. Once opened, refrigerate and enjoy within 3 weeks for optimum flavor.
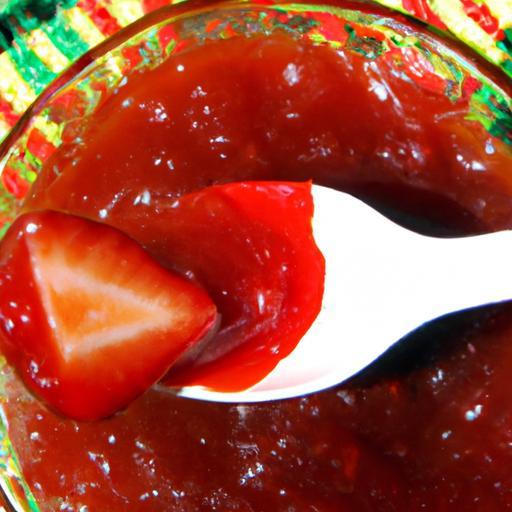
Creative Serving Ideas to Enjoy Your Homemade Sweet Bliss
Your freshly made strawberry jam is a versatile delight beyond simple toast.Spread it over warm buttered scones, dollop atop fluffy pancake stacks with whipped cream, or swirl into vanilla yogurt for a fresh fruity burst. For a gourmet touch, pair with soft cheeses like Brie or mascarpone on a rustic charcuterie board. Garnish with fresh mint leaves or edible flowers to elevate presentation,turning your jam into an irresistible centerpiece for brunch or teatime. Even mixing a spoonful into sparkling water or cocktails can transform ordinary beverages into festive treats.
Tips for Success
- Use freshly squeezed lemon juice to ensure proper acidity for safe preservation and bright flavor.
- Keep stirring during boiling to avoid burnt bits,which can impart bitterness.
- If jam is too runny, return it to the stove for an additional 3-5 minutes of boiling.
- For a no-pectin version, cook berries longer and watch for natural set, but anticipate a softer texture.
- Reserve a few whole strawberries to add near the end of cooking for a beautiful texture boost.
- Label jars with date and batch for easy reference.
| Nutrient | Per 2 tbsp Serving |
|---|---|
| Calories | 50 |
| protein | 0.3g |
| Carbohydrates | 13g |
| Fat | 0g |
For those craving more jam inspiration, check out our Homemade Jam Recipes Collection. Want to understand the science behind pectin? Visit the Iowa State University Fruit Pectin Guide for expert insights.

Q&A
Q&A: Sweet Bliss – How to Make Homemade Strawberry Jam Easily
Q1: Why make strawberry jam at home instead of buying it?
A1: Homemade strawberry jam offers a burst of fresh, pure flavor that store-bought versions can rarely match. When you make it yourself, you control the sweetness, choose the ripest berries, and skip preservatives. Plus, it’s a delightful way to capture the essence of summer in a jar!
Q2: What’s the secret to getting the perfect jam consistency?
A2: The magic lies in the balance of fruit, sugar, and pectin. Using fresh, juicy strawberries and the right amount of sugar helps the jam set nicely. Pectin, a natural thickening agent found in fruits, can be boosted with commercial pectin if needed. Cooking time is key too-too short and the jam is runny, too long and it becomes too stiff.
Q3: How do I know when the jam is ready?
A3: Try the classic “wrinkle test”: place a spoonful of hot jam on a chilled plate and let it sit for a minute. When you gently push it with your finger, the surface should wrinkle if it’s set. If not, cook a little longer and test again.
Q4: Can I make strawberry jam without added pectin?
A4: Absolutely! Strawberries have natural pectin, especially when combined with the right amount of sugar and sufficient cooking time. Though, without added pectin, the jam might be softer and a bit runnier, which some people actually prefer for spreading on toast.Q5: What type of strawberries work best?
A5: Choose ripe, fragrant, but firm strawberries. Overripe berries can make the jam too runny, while underripe ones may lack sweetness. Locally grown, fresh-picked strawberries provide the best flavor and are often more affordable in season.
Q6: How long does homemade strawberry jam last?
A6: When properly canned and sealed in sterilized jars, strawberry jam can last up to a year in a cool, dark pantry. Once opened, keep it refrigerated and enjoy within a month for optimal freshness.
Q7: Any fun tips to personalize my jam?
A7: Definitely! Add a splash of balsamic vinegar for depth, a hint of vanilla bean for warmth, or a sprig of fresh mint for a refreshing twist. Don’t be afraid to experiment-the joy of homemade jam is making it truly yours.
Q8: What’s the easiest way to store leftover strawberries before making jam?
A8: If you can’t make jam right away, keep your strawberries in the fridge, unwashed and in a breathable container. For longer storage, freeze them. Frozen strawberries can be thawed and used in jam with a slightly adjusted cooking time.
Q9: Is making jam messy or complicated?
A9: With a few basic tools and simple steps, making strawberry jam is surprisingly easy and satisfying. Yes, the kitchen might get a little sticky, but that’s part of the sweet adventure! Plus, the reward of homemade jam on your morning toast is worth every sticky fingertip.
Q10: Can kids help with making strawberry jam?
A10: Absolutely! Kids can definitely help rinse and hull strawberries, measure sugar, and stir the pot (with supervision around the hot stove).It’s a fun way to teach them about cooking and the magic of turning fresh fruit into sweet memories.
To Conclude
And there you have it-a simple,sweet journey from garden to jar that transforms fresh strawberries into luscious homemade jam.With just a handful of ingredients and a dash of patience,you’ve unlocked the secret to preserving summer’s sweetest moments year-round. Whether spread on warm toast, dolloped on yogurt, or gifted in a charming jar, your homemade strawberry jam is sure to bring a touch of bliss to every bite. So go ahead, savor the fruits of your labour, and remember: the best jams aren’t just made-they’re crafted with love.