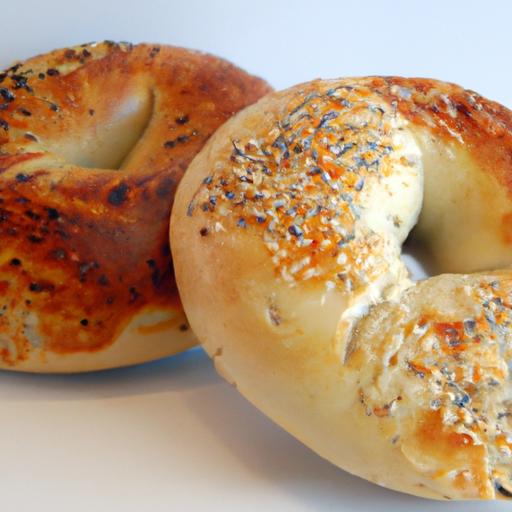
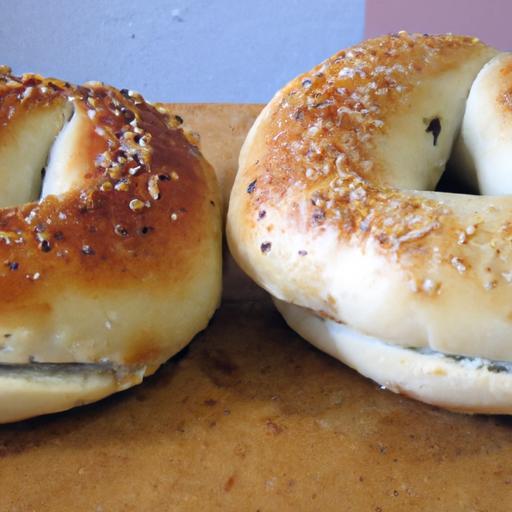
There’s something undeniably magical about biting into a perfectly chewy, golden bagel fresh from your own kitchen. The crisp exterior giving way to a tender, doughy center, topped with a shimmer of seeds or a touch of salt-homemade bagels aren’t just breakfast food; they’re a labor of love that can transform any morning into a celebration. Whether you’re a seasoned baker or a curious beginner, this step-by-step recipe guide will unlock the secrets to crafting flawless bagels at home. From mixing and kneading to boiling and baking, get ready to embark on a delicious journey that will fill your kitchen with irresistible aromas and your plate with warm, doughy perfection.
Perfect Homemade Bagels begin with selecting the right ingredients, as authenticity starts from the foundation – the flour and dough.Using high-gluten bread flour is key to achieving that iconic chewy texture and golden crust that define a classic bagel. Coupled with just the right amount of yeast, salt, and a touch of malt syrup or sugar, the dough reaches its full potential with patient kneading and precise handling.
Prep and Cook Time
- Readiness: 30 minutes
- Rising: 1 hour 30 minutes (including two rises)
- Boiling and Baking: 30 minutes
- Total Time: Approximately 2.5 hours
Yield
8 to 10 medium-sized bagels
Difficulty Level
Medium – perfect for bakers ready to elevate their bread skills.
Ingredients
- 4 cups high-gluten bread flour, sifted
- 1 ½ teaspoons active dry yeast
- 1 ¼ cups warm water (105-110°F / 40-43°C)
- 2 tablespoons malt syrup (or light brown sugar as substitute)
- 1 ½ teaspoons fine sea salt
- 1 tablespoon vegetable oil (for greasing bowl)
- optional toppings: toasted sesame seeds, poppy seeds, coarse sea salt
Instructions
- Activate the yeast: In a small bowl, combine the warm water and malt syrup. Sprinkle the yeast over the surface and let it bloom for 5-7 minutes untill foamy,signaling healthy yeast activity.
- Mix the dough: In a large mixing bowl, whisk together the bread flour and salt.Pour in the yeast mixture and stir with a wooden spoon until a rough dough forms.
- Knead the dough: Transfer onto a lightly floured surface and knead vigorously for about 10 minutes.the dough should become smooth, elastic, and slightly tacky but not sticky. This step develops gluten essential for bagel chewiness.
- First rise: Lightly oil a clean bowl, place the dough inside, and cover with a damp cloth or plastic wrap. Let it rise at room temperature for 1 hour or until doubled in size.
- Divide and shape: Punch down the risen dough and divide it into 8-10 equal pieces (about 90-100g each). Roll each piece into a ball, then create a hole in the center with your thumb, gently stretching for even rings.
- Second rise: Place the shaped bagels on a parchment-lined baking sheet, cover loosely, and let them rest for another 15-20 minutes to relax the gluten.
- Boil the bagels: Preheat the oven to 425°F (220°C).Bring a large pot of water to a gentle boil. Using a slotted spoon, carefully boil the bagels in batches-2-3 at a time-for 1 minute on each side. Boiling sets the crust’s structure.
- Add toppings: As you remove each boiled bagel, immediately sprinkle your favorite toppings on the wet surface to help them stick and toast beautifully.
- bake to perfection: Transfer boiled bagels onto a parchment-lined baking sheet. Bake for 20-25 minutes until they turn a rich golden brown with a crisp exterior.
- Cool and enjoy: Remove from oven and cool on a wire rack for at least 15 minutes to let the crumb set before slicing.
Tips for Success
- Choosing flour: Bread flour is essential – it’s high in protein (~12-14%) to form that necessary chew. Avoid all-purpose flour for the best texture.
- Kneading technique: Use a combination of pressing, folding, and turning. Proper gluten progress is the secret behind resilient bagels.
- Water temperature: Maintain yeast-activating water between 105-110°F to ensure robust fermentation without killing the yeast.
- Boiling water additives: For extra shine and flavor,add 1 tablespoon of malt syrup or baking soda to boiling water.
- Make ahead: After shaping the bagels, refrigerate them overnight on a baking sheet covered tightly with plastic wrap. Bring to room temperature before boiling and baking for a deeper, tangy flavor.
Serving Suggestions
Enjoy your Perfect Homemade Bagels warm, sliced horizontally and toasted lightly. Spread with rich cream cheese, smoky smoked salmon, thinly sliced red onions, capers, and fresh dill for a customary New York-style experience. Alternatively, create your own toppings, such as avocado mash and everything bagel seasoning or honey butter and fresh berries for a delightful breakfast. Garnish with a sprinkle of freshly cracked black pepper or a light drizzle of olive oil and sea salt to enhance the flavors.

| Nutrient | Per Bagel (approx.) |
|---|---|
| Calories | 280 kcal |
| Protein | 10 g |
| Carbohydrates | 57 g |
| Fat | 1.5 g |
For a deeper dive into artisanal bread baking techniques, visit the King arthur Baking Company for expert tips and ingredient science. You might also enjoy our related guide on Homemade Artisan Bread Recipes to round out your baking repertoire.
Q&A
Q&A: Perfect Homemade Bagels-A Step-by-Step Recipe Guide
Q1: Why make bagels at home rather of buying them from the store?
A: Homemade bagels bring bakery-quality goodness right to your kitchen! You control the freshness, flavor, and toppings, and experience the joy of crafting chewy, golden bagels tailored exactly to your taste. plus, no preservatives-just pure doughy delight.
Q2: What’s the secret to that authentic chewy texture in bagels?
A: That delightful chew comes from both the dough’s high-gluten flour and the boiling step before baking. Boiling the formed bagels briefly creates a glossy crust and locks in moisture, giving the bagels their characteristic bite and sheen.
Q3: Can I customize my bagels with different flavors and toppings?
A: Absolutely! Once your dough is ready, feel free to mix in ingredients like cinnamon and raisins for a sweet twist or sprinkle sesame seeds, poppy seeds, everything seasoning, or even garlic flakes on top for savory variations. the possibilities are as endless as your imagination.
Q4: How long does it take to make homemade bagels from start to finish?
A: Patience is part of the process! From kneading to first rise, shaping, resting, boiling, and baking, expect around 3 to 4 hours. Most of that time is hands-off, letting the dough develop its magic. the result? Totally worth every minute.
Q5: Do I need any special equipment?
A: Nope! Basic kitchen tools will do-mixing bowls,a sturdy spoon or mixer,a baking sheet,and a large pot for boiling. An oven thermometer can help,but isn’t mandatory. Your love for bagels is your secret ingredient.Q6: What’s the best way to store homemade bagels?
A: Fresh is king! Eat them the same day for peak flavor and texture.If you need to save some, wrap them tightly in plastic and refrigerate for a day or two, or freeze for longer storage. Reheat by toasting or in the oven to revive that fresh-baked charm.
Q7: Can I make bagels vegan or gluten-free?
A: Yes and yes-with some tweaks! Substitute dairy milk with plant-based alternatives and use flax or chia eggs for binding. For gluten-free, use specialized flour blends designed for bread baking. Keep in mind texture and rising times may vary, but deliciousness can still be yours.
Q8: What common mistakes should I avoid when making bagels?
A: Avoid under-kneading the dough; it needs a good workout to develop gluten for that perfect chew. Don’t skip boiling-it’s essential for texture and crust development.Also,be gentle when shaping to keep the signature hole intact during baking.With this guide, your kitchen is set to become a mini bagel bakery! ready to roll up your sleeves and bake your way to bagel bliss?
In Retrospect
With your perfect homemade bagels now a delicious reality, you’ve unlocked the secret to that golden, chewy delight that coffee shops everywhere strive to replicate.Each step-from mixing to boiling to baking-works in harmony to create those signature textures and flavors that make bagels so irresistible. So whether you’re savoring them fresh from the oven or toasting leftovers the next day,remember: mastering this craft is as much about patience and love as it is about flour and water. Now, armed with this step-by-step guide, your kitchen is ready to become the birthplace of bagel brilliance.Happy baking, and may every bite bring a little taste of perfection!